Wednesday, April 27, 2011

MCC0033 Computer Graphics III (Assignment 2-Interactive Poster)

Our assignment 2 is based from the assignment 1 which is the 1Malaysia poster and we need to transform and add movements using Adobe Flash...Here are the steps taken to make my static poster to a new interactive poster...


Step 1: Firstly I select few lines into group and convert it into a symbol...then I double click it so that I can change the motion for each group...using the rectangle tool, I create a small box at the center of the lines and make a classic tween(resize) to cover the whole lines....then i select the rectangle layer and make it as mask to the lines layer so that it'll look like its coming out from the center stage...after all that, i create another layer and put in a stop script so that it wont repeat itself...


Step 2: After putting effect on the lines layer, I group the spirals and change it to symbols so that it'll be easier to work on it...to work with each spirals, I double click it and make an effect of it coming out from the center as well..to do this, I use the brush tool on each frame from the center until it covers the whole spiral....then I right click on the brush layer and make it as a mask to the spiral...at the end, I put another stop action script so that it wont repeat....


Step 3: As for the pictures, I put it as different layers so that I can work with each pictures and create them as symbols....with the alpha style under the color effect of each symbol's properties, I make the pictures flickers...


Step 4: Then I apply the techniques to each picture layers but at different frames so that the pictures won't come into stage at once....


Step 5: As for the picture on the bottom of the stage, I put it on another layer and make it a symbol as well...after that, I resize it to become smaller and and change the alpha to 0....at the end of the frame, I make the picture bigger and change the alpha to 100 again and make a classic tween on it....


Step 6: Lastly for the stamp text, I create a symbol from it, resize it to be bigger, rotate it counter clockwise and change the alpha to 0...at the end of the frame, I added a new keyframe and change it back to normal and make a classic tween on it....after finishing with the animations, I added a sound effect when the text animation finish so that it'll look like a stamp and also a song for my whole animation....

Credits to : www.soundbible.com 
                  www.youtube.com

Wednesday, January 12, 2011

2011 Calender (Group 19 Final Project)

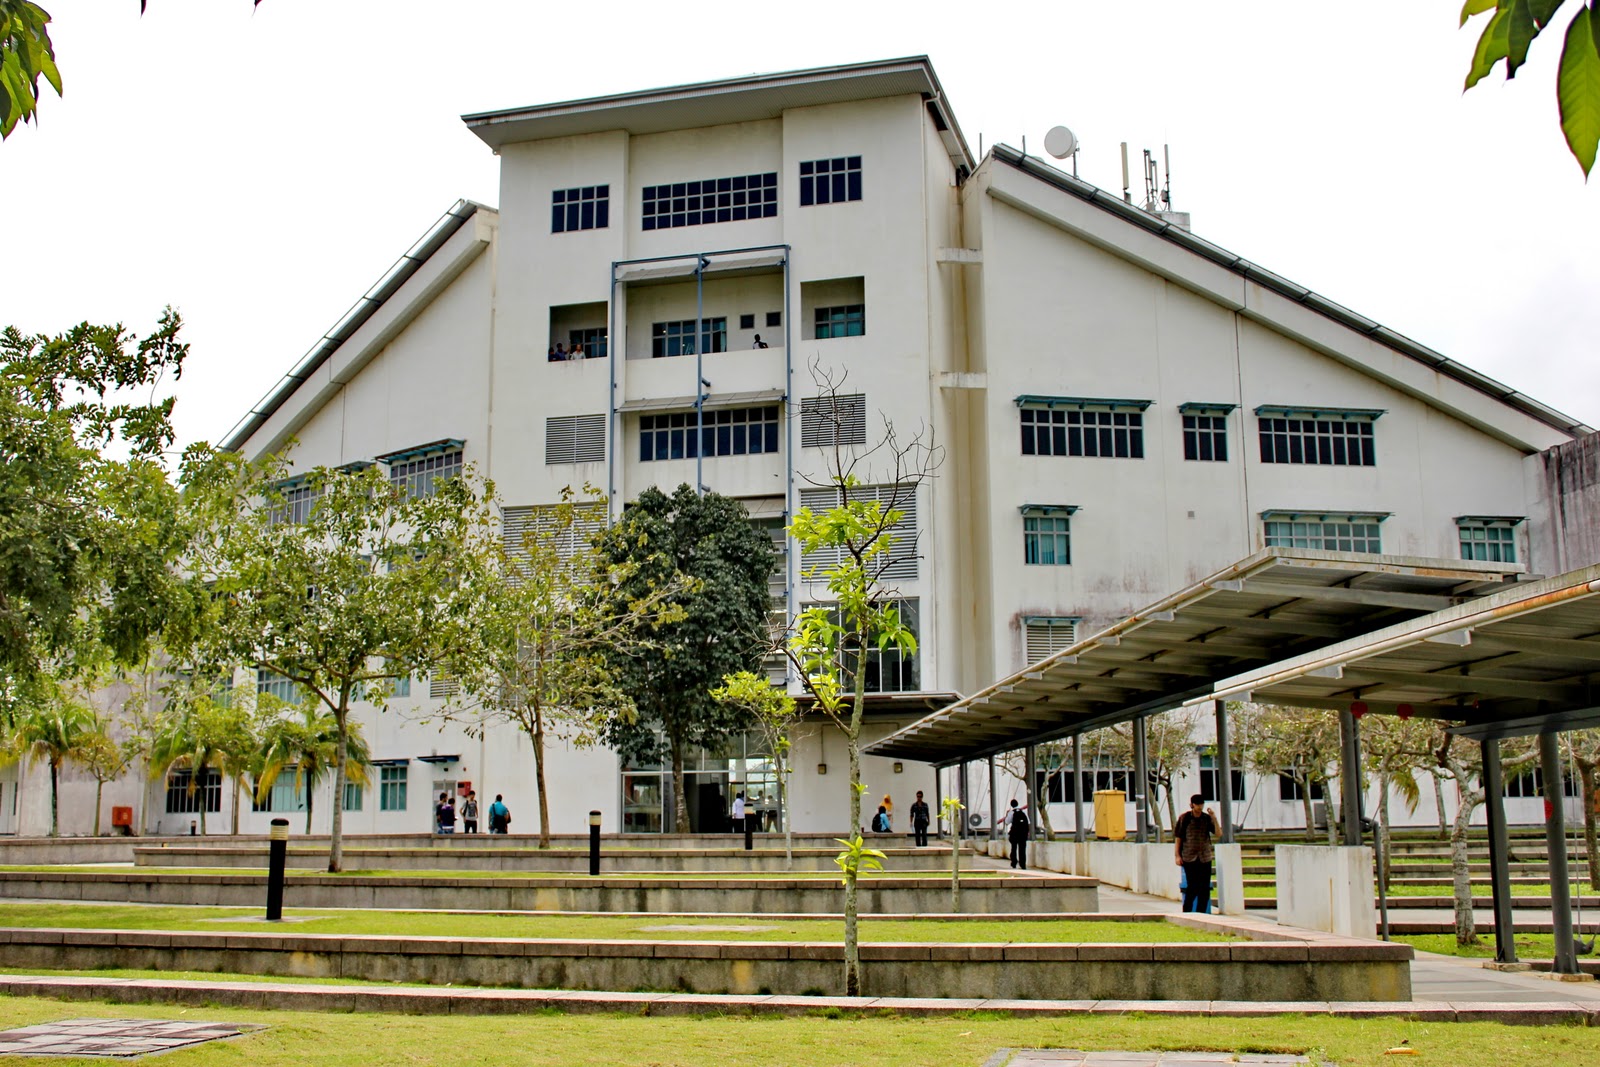
We were given the task of creating the 2011 calender and all group members decided to make Multimedia University (MMU) as our theme. The group leader, Azurin Syafiq, divided the task evenly to every group members. For our calender, each month has its own significant building. For my task, I got the month of April and October, each represented by Faculty of Management (FOM) and Student Affair Division (STAD). Below are few pictures taken together by the whole team and only few were selected....


Faculty of Management (FOM)


These is the final product (image) after being combined...


Student Affair Division (STAD)


These is the final product (image) after being combined...


We made a default template for everyone to use, so all the work will be constant...After editing and inserting the final products, these are the final artwork....


April
October


Wednesday, November 17, 2010

Assignment 1 (E-wallpaper)

Hello, this is my final artwork for the e-wallpaper which is for the Hari Raya Festival...


These are the steps I did to make this wallpaper :

Step 1. I use one of the pictures taken on the internet so that I can get a picture of a mosque. Firstly, I create a new project with an A4 size paper (vertically) and drag the picture on it. After double clicking on the original picture so that I can change it to a layer, I use the Rubber Tool to erase the unwanted parts on the image.


Step 2. After that, I use the Levels (Image>Adjustment>Levels) to change the picture to black and white and darken the colored area. This technique which I've learnt from Youtube is to erase the black parts as soon as possible without any problems. To do so, I changed the normal part on the Layer section for this layer to Screen.


Step 3. Below is the result after changing the background color to green. After that, I use the Rubber Tool again to erase any unwanted parts. I also added some blending options on it so it'll look better.


Step 4. After changing the background color (again) to darker blue so it'll look like a sky, I added another layer with white foreground and change the opacity to 70%.


Step 5. Then, I use the Elliptical Marquee Tool to select just around the mosque. After that, right click on it, select Feather and set it to 250 pixels, select inverse and delete the selected. I use the same technique on the black part on the top part.


Step 6. Then I take the picture of a 'pelita' on the internet and drag it on the wallpaper. After erasing the unwanted parts, I use the Screen technique again like I did on the mosque (step 2) and duplicate it. After that, I resize it using the free transform (Ctrl + T).


Step 7. I use this cartoon picture on the internet to add in my wallpaper. I use the Eraser Tool, Magic Wand Tool and Quick Selection Tool to erase any unwanted parts.


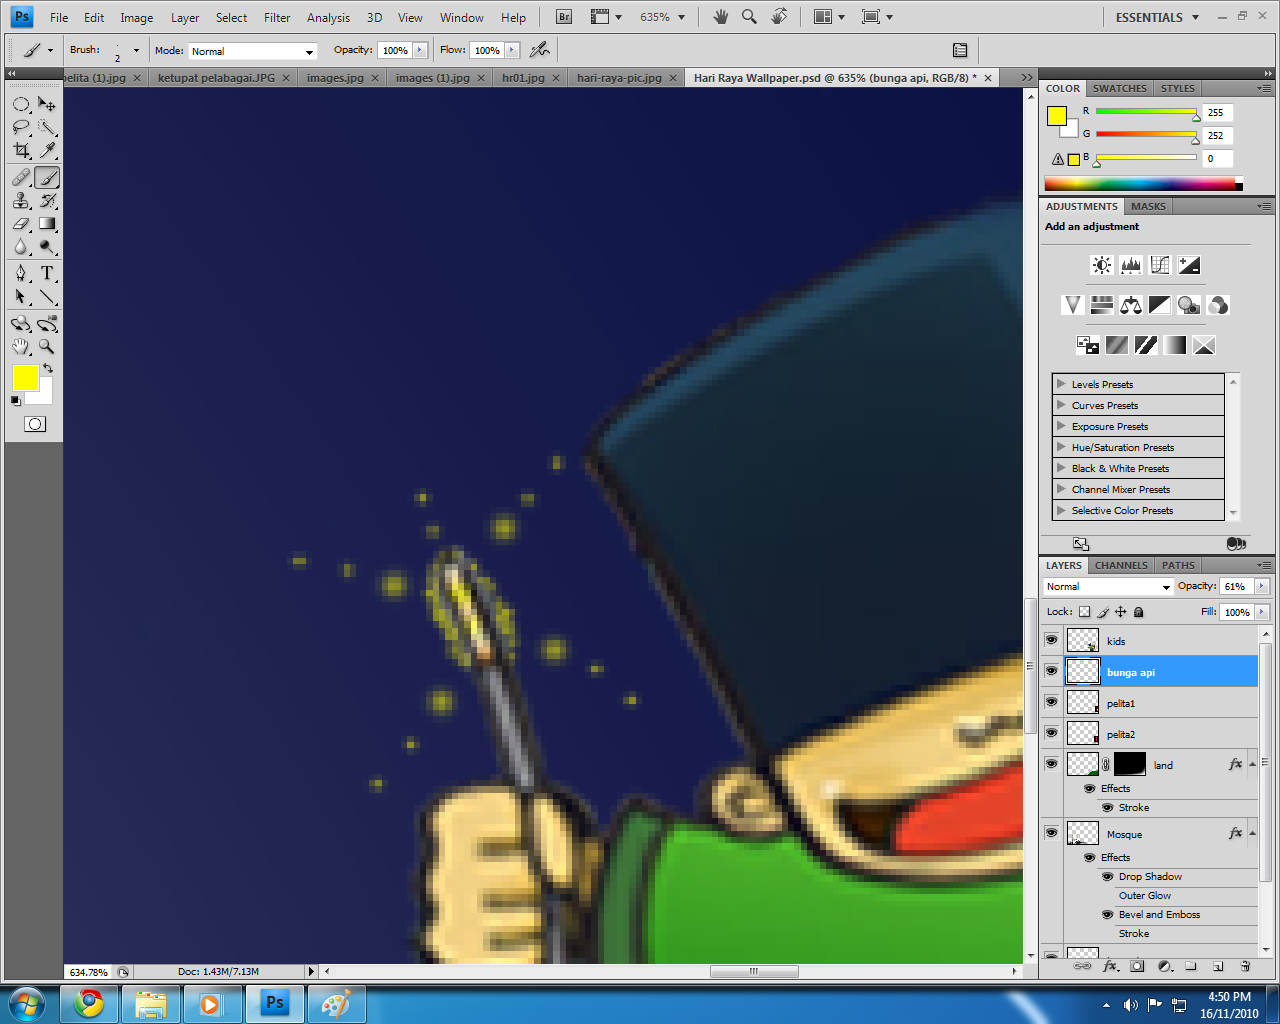
Step 8. After resizing using free transform (Ctrl + T), I added the fire cracker effect on this picture by using the Brush Tool with Yellow foreground and lessen on the hardness.


Step 9. Then I added another layer for the ground so that these pictures won't look like it is floating and added gradient mask on it.


Step 10. To add the fireworks effect, firstly I use the Elliptical Marquee Tool and draw a circle by holding the Ctrl and Shift button. This is to draw a circle from the center and to draw a perfect circle. This selection is just a guidance so that it'll look rounded. After that, use the brush tool and just spread it on the layer like the picture shown below.


Step 10. After that, I duplicate the layer and add the Radial Blur (Filter>Blur>Radial Blur) and set it to zoom with the amount of 20. 


Step 11. I repeated this step 3 times so that it'll look something like the picture below. To add the Radial Blur with a short key, press Ctrl + F.


Step 12. Then, click on all the duplicate layers and press Ctrl + T to resize it and it'll look like a trail of fireworks.


Step 13. After that I duplicate a couple more of this firework so that it'll look like there is more. Ouh, I also put them into groups so that it'll be easy and the layers section wont be messy. I also merge the firework trails by selecting all the layers and right clicking on it.


Step 14. After that, I add another layer and create a clipping mask. This is to change the colors for the fireworks so that it won't be white only. Then I added the gradient on each clipping mask.


Step 15. Then I added the blending option on the sparks as well and there I have bunch of colored fireworks ^_^


Step 16. I also took a picture of 'ketupat' in the internet and repeat step 7 to get what I want and use the free transform (Ctrl + T) to make it smalller.


Step 17. After putting in a bunch of 'ketupat', I added some text using the Type Tool. Then, I added some blending options (Drop Shadow, Inner Shadow, Outer Glow, Inner Glow, Bevel and Emboss) to it so that the letters will stands up.


Step 18. Then, I added another layer and make a yellow circle and use the Elliptical Marquee Tool to erase apart of it so it'll look like a moon. Then I added some blending options to it also to make it look nicer.


Step 19. The last and final step I use the Brush Tool again on the background layer and added some white stars on the sky and its all done! ^_^